



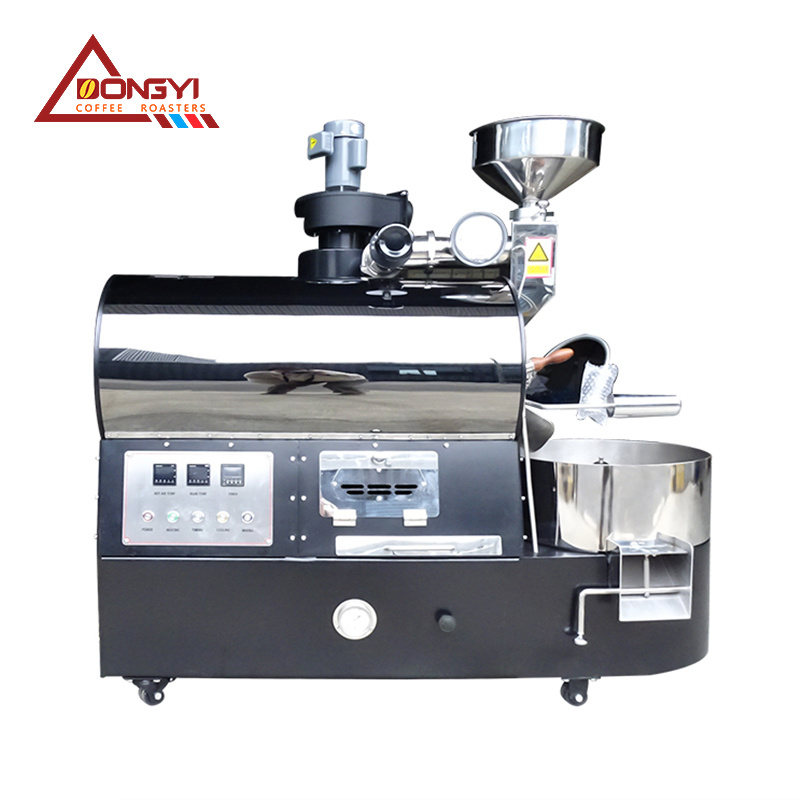
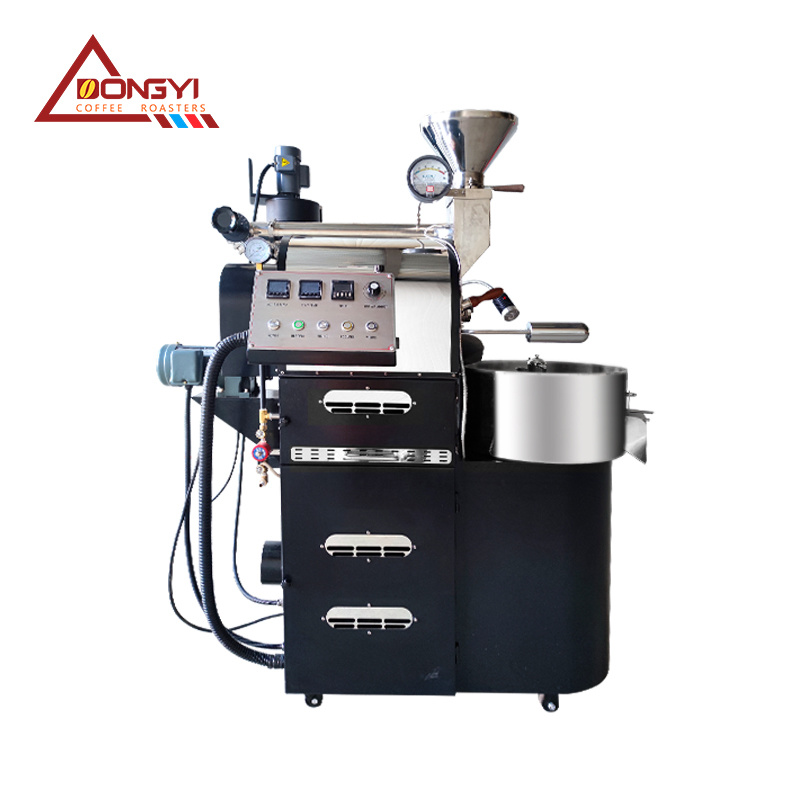
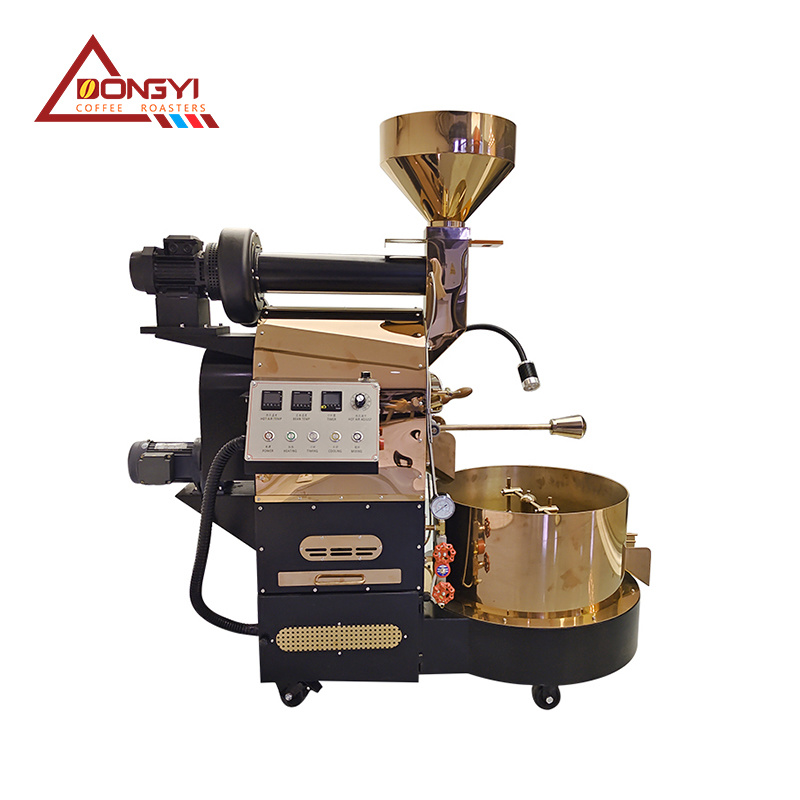

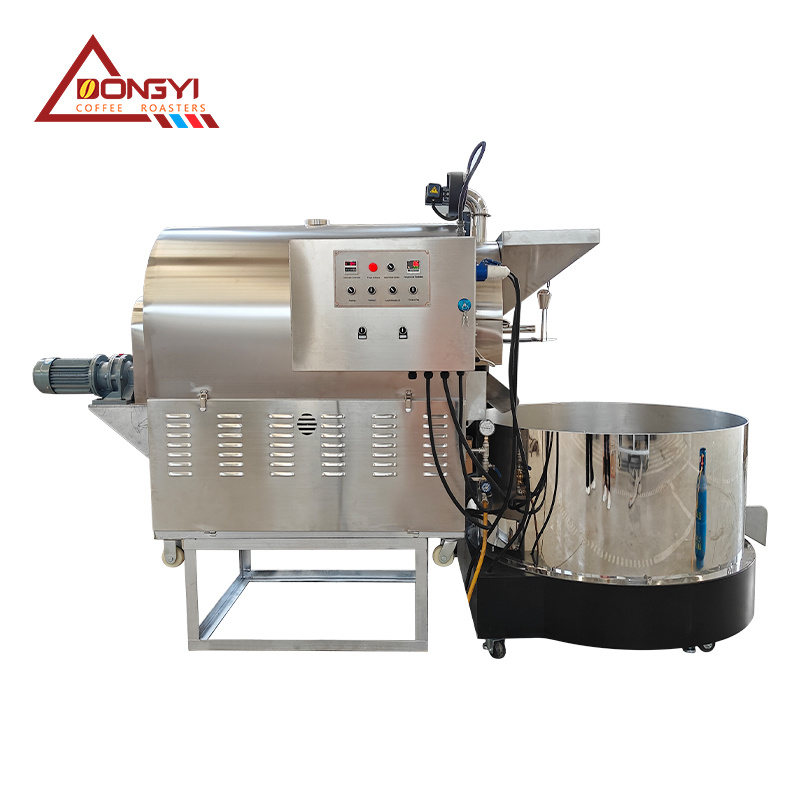
China BlGGEST coffee roaster manufacter factory, l year exported up 2000sets to 35 world countries.
Step-by-Step Guide to Using Your Automatic Roaster: Mastering Coffee Roasting at Home
Time:
06 Jan,2025
Step-by-Step Guide to Using Your Automatic Roaster
Introduction to Automatic Coffee Roasting
Coffee enthusiasts know that the journey from green beans to a perfectly roasted brew is a magical experience. Automatic coffee roasters have revolutionized the way we roast coffee, making the process simpler and more efficient. In this guide, we will delve into the intricacies of using your automatic roaster effectively, ensuring that you achieve the best results every time.
Understanding Your Automatic Roaster
Before diving into the roasting process, it's essential to familiarize yourself with the machine. Different brands and models come with unique features, but most automatic roasters share common components.
Key Features of Automatic Roasters
1. **Roast Level Control**: This feature allows you to select the desired roast level, from light to dark.
2. **Temperature Settings**: Precise temperature control is crucial for achieving the perfect roast.
3. **Cooling Function**: After roasting, beans must cool quickly to halt the roasting process. Most automatic roasters have a built-in cooling feature.
4. **Bean Capacity**: Understanding the maximum capacity of your roaster will help you avoid overloading.
Preparing for Roasting
Preparation is vital for a successful roasting session. Here’s how to ensure you’re ready to roast your coffee beans.
Selecting Quality Green Coffee Beans
The cornerstone of excellent coffee lies in the quality of the beans. Opt for high-grade, specialty coffee beans from reputable sources. Consider trying different origins, such as Ethiopian or Colombian, to explore various flavor profiles.
Gathering Your Equipment
Before you start roasting, make sure you have the following items ready:
- Automatic coffee roaster
- Green coffee beans
- Measuring cup or scale
- A heat-resistant bowl or tray for cooling
- A spoon for stirring (if applicable)
Step-by-Step Roasting Process
Now that you’re prepared, let’s embark on the roasting journey.
Step 1: Measure the Beans
Using a measuring cup or scale, measure the appropriate amount of green coffee beans according to your roaster's capacity. Generally, 100-200 grams is a good starting point for home roasting.
Step 2: Set Up the Roaster
Place the roaster on a stable, heat-resistant surface. Ensure that it’s properly plugged in and that the ventilation is unobstructed. This step is crucial to prevent overheating and ensure safety during the roasting process.
Step 3: Preheat the Roaster
Some automatic roasters require preheating. Refer to your user manual for specific instructions. Preheating can help achieve a more uniform roast.
Step 4: Add the Coffee Beans
Once the roaster is preheated, add the measured green coffee beans to the roasting chamber. Ensure that they are evenly distributed for consistent roasting.
Step 5: Select Your Roast Level
Adjust the roast level settings on your automatic roaster. Experimenting with different levels can help you find the perfect roast for your taste preference, whether you enjoy a light, fruity brew or a dark, rich flavor profile.
Step 6: Start the Roasting Process
Initiate the roasting process by pressing the start button. Your roaster will manage the temperature and timing, but keep an eye on the progress. Most roasters provide audible alerts for key stages in the roasting process, such as the first and second cracks.
Step 7: Monitor the Roast Progress
As the roasting progresses, the beans will undergo several transformations. At the first crack, the beans expand and release moisture. This stage typically occurs around 200°C (392°F) and is where light roasts begin to develop. The second crack signals a darker roast, occurring around 225°C (437°F). Familiarize yourself with the roast profiles to achieve your desired flavor.
Step 8: Cool the Roasted Beans
Once the desired roast level is reached, it’s essential to cool the beans quickly to prevent over-roasting. Most automatic roasters have a cooling function. If yours does not, transfer the beans to a heat-resistant bowl or tray and stir them to help dissipate heat.
Storing Your Roasted Coffee Beans
Proper storage is key to maintaining the freshness and flavor of your roasted coffee.
Choosing the Right Storage Container
Use an airtight container made of glass or ceramic to store your beans. Avoid plastic, as it can lead to a loss of flavor.
Optimal Storage Conditions
Store your beans in a cool, dark place, away from direct sunlight and moisture. Ideally, consume your roasted coffee within 2-3 weeks for the best flavor.
Common Issues and Troubleshooting Tips
Even seasoned roasters encounter challenges. Here are some common issues you may face and how to address them.
Beans Not Roasting Evenly
If you notice uneven roasting, check that you’re not overloading the roaster. Ensure that the beans are evenly distributed in the roasting chamber for optimal airflow.
Burnt or Bitter Taste
A burnt flavor can result from an overly dark roast. Pay attention to the roasting time and temperature settings to avoid charring the beans.
Underdeveloped Flavor
If your coffee tastes flat or underdeveloped, it may not have been roasted long enough. Adjust the roast time and experiment with different roast levels to achieve better flavor complexity.
Enhancing Your Coffee Roasting Skills
As you become more comfortable with your automatic roaster, consider the following tips to refine your skills.
Tasting and Evaluating Your Roasts
Take notes on each roast’s characteristics, including flavor notes, aroma, and body. This practice will help you understand which profiles you prefer and how to replicate them.
Experimenting with Different Bean Varieties
Don’t hesitate to try various coffee beans from different regions. Each origin presents unique flavors influenced by the soil, climate, and processing methods.
Joining a Coffee Roasting Community
Consider joining local or online coffee roasting communities. Engaging with fellow enthusiasts can provide valuable insights, tips, and support as you refine your roasting skills.
Frequently Asked Questions
1. How long does it take to roast coffee beans in an automatic roaster?
The roasting time typically ranges from 10 to 20 minutes, depending on the roast level and the type of beans.
2. Can I roast flavored coffee beans in an automatic roaster?
Yes, but it's best to roast unflavored beans first to prevent residues from affecting future batches.
3. Is it necessary to preheat my automatic coffee roaster?
Some roasters require preheating for optimal results, while others do not. Always refer to your user manual for specific instructions.
4. How can I tell when my coffee beans are done roasting?
Monitor the audible cracks and observe the color change. Light roasts typically finish after the first crack, while dark roasts continue until the second crack.
5. How should I clean my automatic roaster?
Always refer to the user manual for cleaning instructions. Generally, allow the roaster to cool, then wipe the interior and exterior with a damp cloth. Avoid using abrasive cleaners.
Conclusion
Using an automatic coffee roaster can be an exhilarating journey that allows you to explore the vast world of coffee flavors and aromas. By following this detailed step-by-step guide, you can master the art of roasting coffee at home, producing exceptional brews tailored to your taste preferences. Remember, the key to great coffee lies in practice, experimentation, and a passion for quality. Enjoy your coffee journey!
Recommended

Phone/WhatsApp:
Email:
About Us
We are a real coffee roasting machine manufacturer, providing OEM and ODM services, we have established a series of brands with our own characteristics.
HUATAO GROUP
Leave Message
Expand your business with a trusted partner
SAF Coolest v1.3.1.2 设置面板 GDNSD-ZRUA-MDADE-ZZE
违禁词: 第一,最,一流,领先,独一无二,王者,龙头,领导者,极致,
无数据提示
Sorry, the current column is being updated, so stay tuned!