




China BlGGEST coffee roaster manufacter factory, l year exported up 2000sets to 35 world countries.
Unlock the Secrets: How to Perfectly Roast Coffee Beans for Espresso with a Classical Coffee Roaster
Time:
10 Jan,2025
How to Roast Coffee Beans for Espresso with a Classical Coffee Roaster
Table of Contents
1. Understanding the Basics of Coffee Roasting
2. Selecting the Right Coffee Beans for Espresso
3. Essential Equipment for Roasting Coffee Beans
3.1 The Classical Coffee Roaster
3.2 Other Necessary Tools and Accessories
4. Step-by-Step Guide to Roasting Coffee Beans
4.1 Preparing Your Coffee Beans
4.2 Setting Up the Roaster
4.3 The Roasting Process: A Detailed Walkthrough
5. How to Identify Roast Levels
6. Cooling and Storing Your Roasted Coffee Beans
7. Brewing the Perfect Espresso: Tips and Techniques
8. Frequently Asked Questions (FAQs)
9. Conclusion: Mastering the Art of Coffee Roasting
1. Understanding the Basics of Coffee Roasting
Roasting coffee beans is an intricate process that transforms green coffee beans into the aromatic and flavorful beans that coffee lovers adore. The roasting process involves applying heat to the beans, which causes a series of physical and chemical changes. As the beans heat up, they undergo the Maillard reaction, caramelization, and other transformations that develop their unique flavors and aromas. Understanding these fundamentals is crucial for anyone looking to roast coffee beans for espresso.
2. Selecting the Right Coffee Beans for Espresso
Choosing the right coffee beans is essential for achieving a rich and flavorful espresso. Espresso is typically made from Arabica or Robusta beans, each offering distinct flavor profiles. Arabica beans are known for their sweet and fruity notes, while Robusta beans tend to be more bitter and earthy. When selecting beans, consider the following:
- **Origin:** Beans from different regions have unique flavor characteristics. For instance, Ethiopian beans often have floral and fruity notes, while Brazilian beans may have chocolatey undertones.
- **Freshness:** Always opt for freshly harvested beans. Check the roast date and choose beans that have been roasted within the last few weeks for the best flavor.
- **Varietal:** Experimenting with different varietals can lead to exciting flavor discoveries. Look for single-origin beans or blends tailored for espresso.
3. Essential Equipment for Roasting Coffee Beans
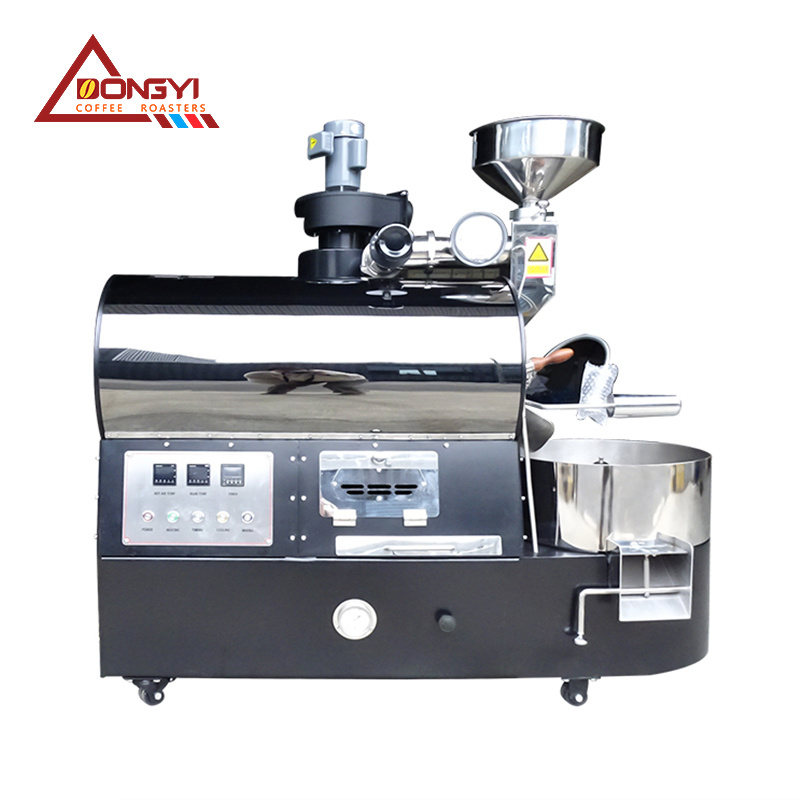
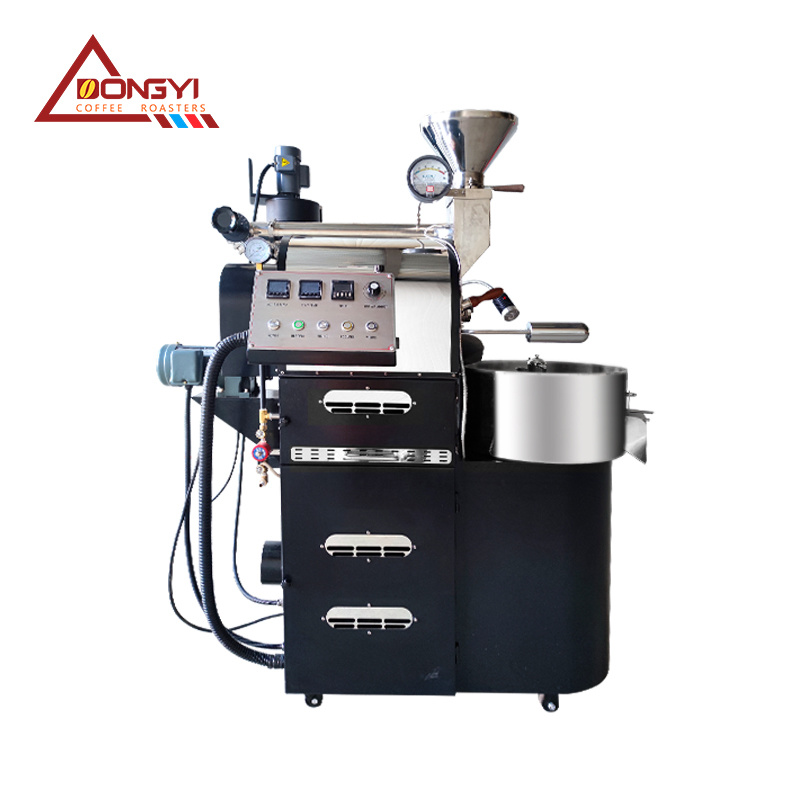
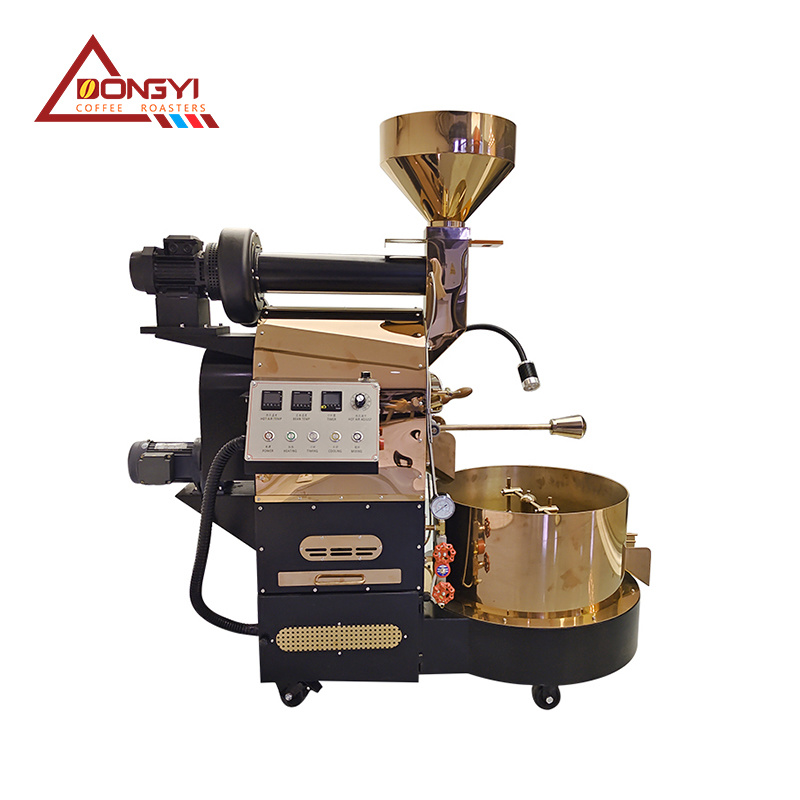
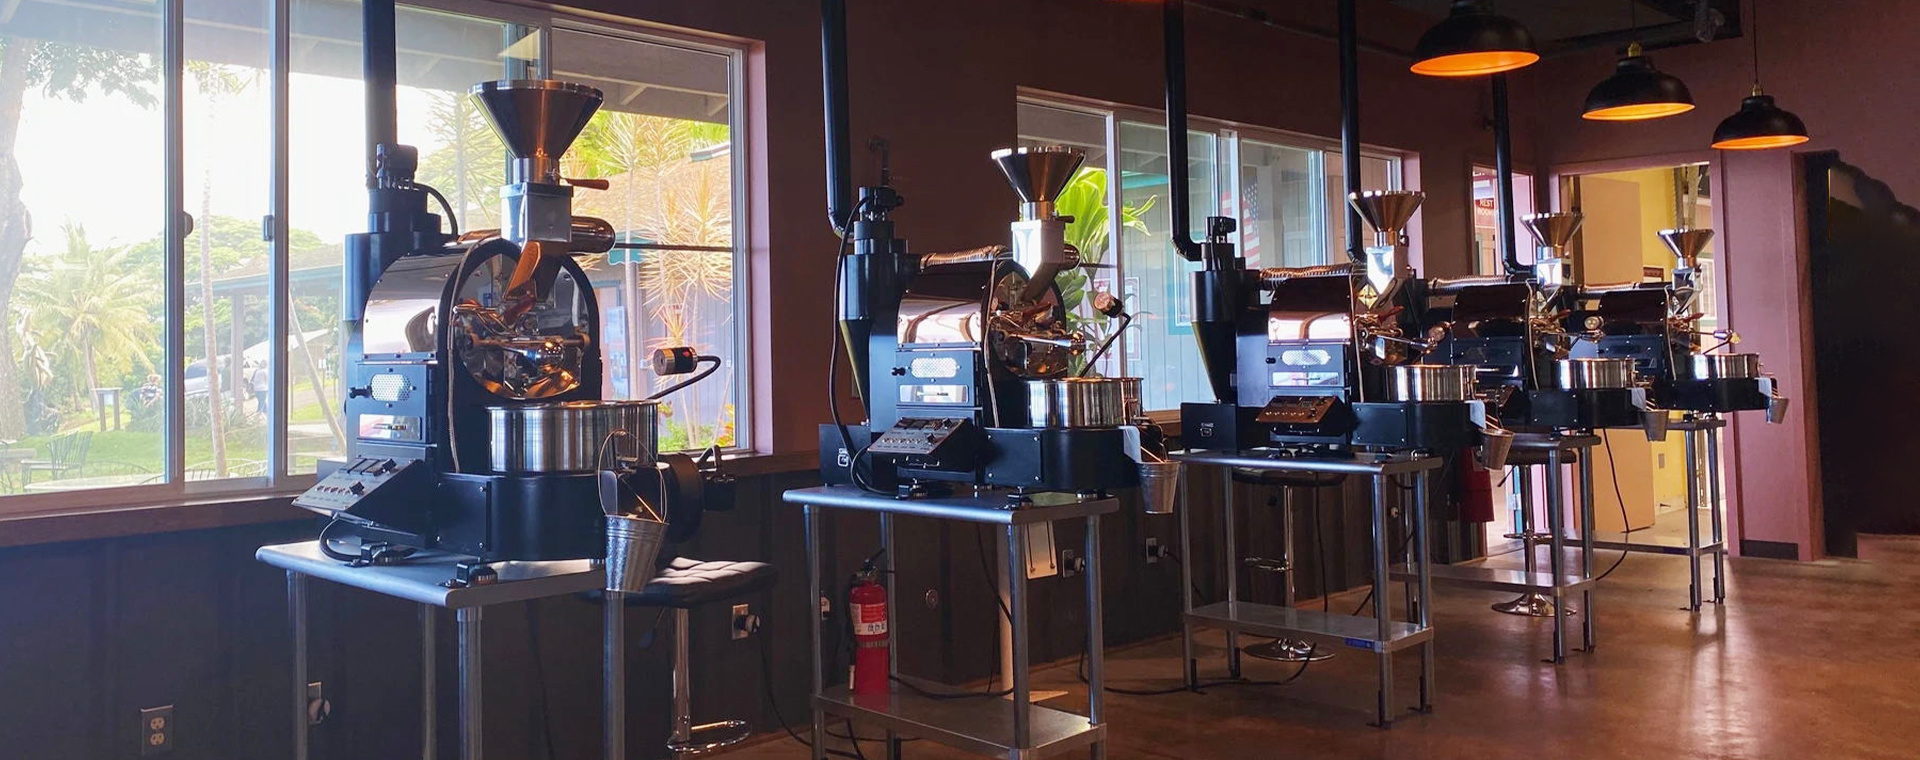
To roast coffee beans successfully, you'll need the right equipment. While there are many methods to roast coffee, a classical coffee roaster is one of the best options for achieving consistent results.
3.1 The Classical Coffee Roaster
A classical coffee roaster operates using convection or conduction methods. These roasters allow for precise temperature control and even roasting. Look for a model with adjustable heat settings and a built-in thermometer for monitoring the roast's progress accurately.
3.2 Other Necessary Tools and Accessories
In addition to the roaster, you will need:
- **Green coffee beans**: Ensure your choice aligns with your desired flavor profile.
- **A scale**: For accurate measurement of beans.
- **A timer**: To track the roasting duration.
- **A cooling tray**: To rapidly cool the beans after roasting.
- **A storage container**: Air-tight containers are ideal for preserving freshness.
4. Step-by-Step Guide to Roasting Coffee Beans
Now that you have your equipment and beans ready, let's delve into the roasting process.
4.1 Preparing Your Coffee Beans
Start by measuring out the quantity of green coffee beans you plan to roast. A standard batch size is around **1 pound**, but you can adjust this based on your roaster's capacity. Ensure the beans are clean and free from any debris.
4.2 Setting Up the Roaster
Follow the manufacturer's instructions to set up your classical coffee roaster. Preheat the roaster to the desired temperature, usually between **400°F to 500°F** (200°C to 260°C).
4.3 The Roasting Process: A Detailed Walkthrough
1. **Initial Phase (0-5 minutes)**: Add the green beans to the roaster and close the lid. During this time, the beans will start to dry out, and their color will change from green to yellow.
2. **First Crack (6-10 minutes)**: As the temperature rises, listen for the first crack, a popping sound indicating the beans are starting to expand. This is when they reach a light roast stage.
3. **Development Phase (10-15 minutes)**: After the first crack, you can choose to continue roasting for a medium to dark roast. Monitor the color and aroma closely during this phase.
4. **Second Crack (15-20 minutes)**: For a dark roast, continue roasting until you hear the second crack. This indicates that the oils are starting to surface, giving a richer flavor.
5. **Cooling (20 minutes and beyond)**: Once you reach your desired roast level, immediately transfer the beans to a cooling tray to halt the roasting process.
5. How to Identify Roast Levels
Understanding roast levels is vital for crafting the perfect espresso. Here's a quick guide to roast levels:
- **Light Roast**: Light brown color with no oil on the surface. Retains the original flavors of the beans.
- **Medium Roast**: Medium brown color with a slight shine. Balanced flavor with a hint of sweetness.
- **Dark Roast**: Dark brown to nearly black, with an oily surface. Bold flavors with a smoky finish.
6. Cooling and Storing Your Roasted Coffee Beans
After roasting, it's crucial to cool your beans quickly to preserve their flavor. Air cooling is the most effective method. Once cooled, store the beans in an airtight container in a cool, dark place. Avoid refrigeration, as moisture can compromise the beans' quality.
7. Brewing the Perfect Espresso: Tips and Techniques
With your roasted beans ready, it's time to brew. Here are some tips for making exceptional espresso:
- **Grind Size**: Use a fine grind for espresso. A burr grinder is recommended for consistency.
- **Tamping**: Use even pressure when tamping the grounds for uniform extraction.
- **Water Quality**: Use filtered water to avoid unwanted flavors.
- **Brewing Temperature**: Aim for a brewing temperature between **190°F to 205°F** (88°C to 96°C).
- **Extraction Time**: A standard shot of espresso should take **25-30 seconds** to extract.
8. Frequently Asked Questions (FAQs)
What is the best roast level for espresso?
The best roast level for espresso typically ranges from medium to dark roast, as these levels enhance the richness and depth of flavor.
Can I roast coffee beans at home without a roaster?
Yes, you can use a skillet or an air popcorn maker, but results may vary in consistency and flavor.
How long should I let roasted coffee beans rest?
Allow the beans to rest for **24-48 hours** after roasting to develop their full flavor profile.
What’s the shelf life of roasted coffee beans?
Roasted coffee beans are best consumed within **2-4 weeks** of roasting for optimal freshness.
How can I tell if my coffee beans are over-roasted?
Over-roasted beans will appear very dark and oily, with a bitter taste and burnt aroma.
9. Conclusion: Mastering the Art of Coffee Roasting
Roasting coffee beans for espresso is an art that requires practice, attention to detail, and a passion for coffee. By following this comprehensive guide, you can elevate your coffee experience and enjoy the rich, bold flavors of freshly roasted beans. Whether you’re a seasoned roaster or a novice, the thrill of crafting your unique espresso awaits you. Embrace the process, experiment with different beans and roasting techniques, and savor the delightful rewards of your efforts.
Recommended

Phone/WhatsApp:
Email:
About Us
We are a real coffee roasting machine manufacturer, providing OEM and ODM services, we have established a series of brands with our own characteristics.
HUATAO GROUP
Leave Message
Expand your business with a trusted partner
SAF Coolest v1.3.1.2 设置面板 GDNSD-ZRUA-MDADE-ZZE
违禁词: 第一,最,一流,领先,独一无二,王者,龙头,领导者,极致,
无数据提示
Sorry, the current column is being updated, so stay tuned!