



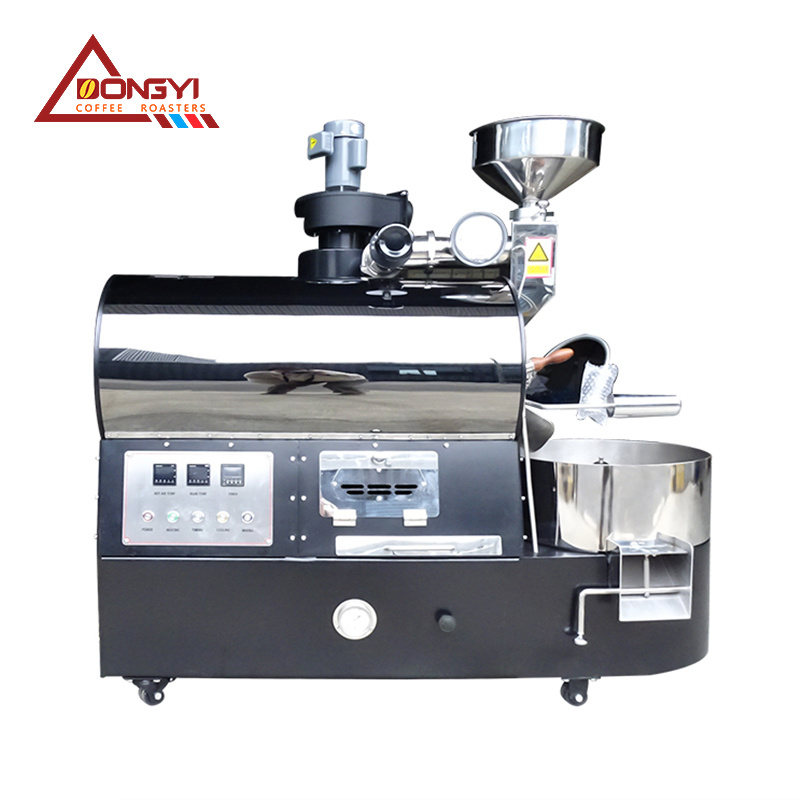
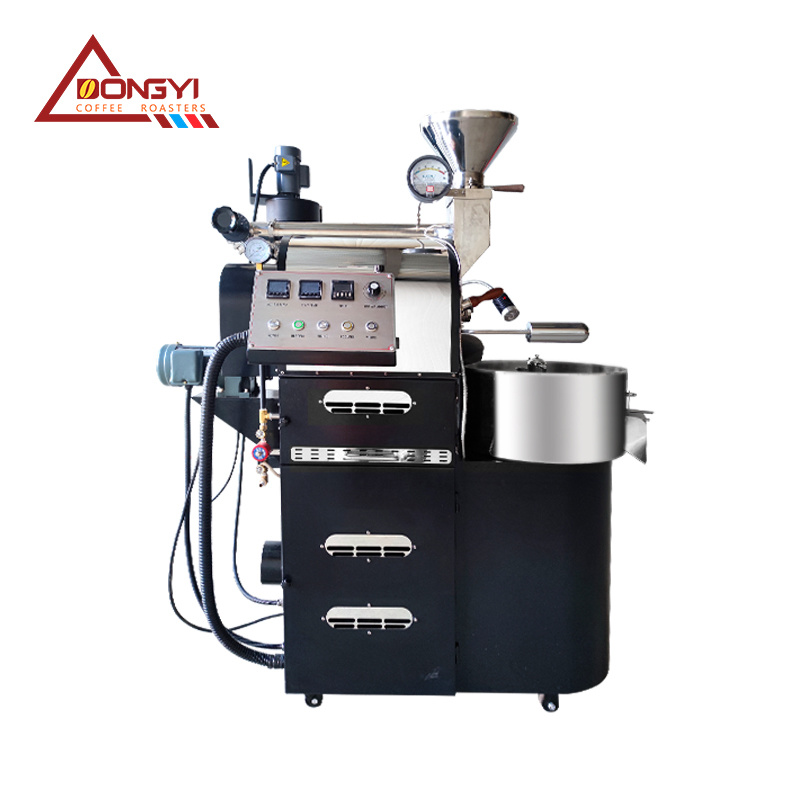
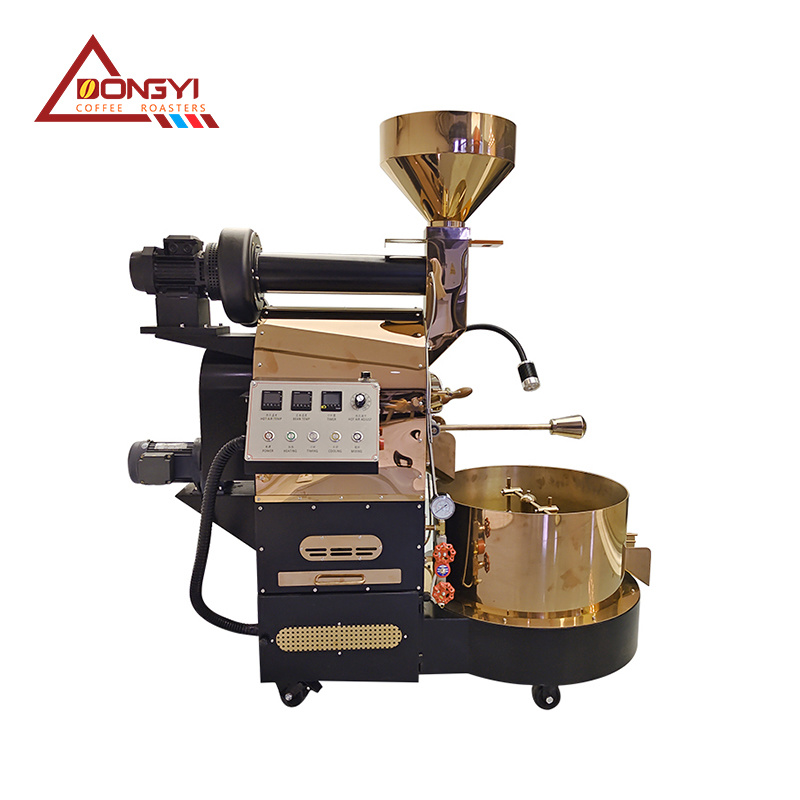

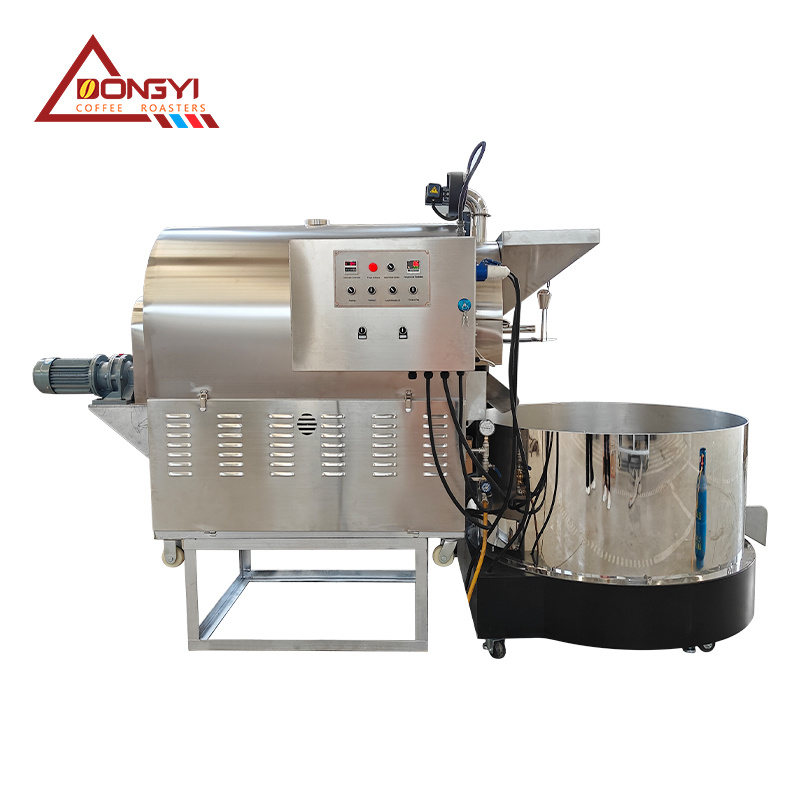
China BlGGEST coffee roaster manufacter factory, l year exported up 2000sets to 35 world countries.
Transform Your Morning Routine with a Gas Coffee Roaster: Elevate Your Coffee Experience
Time:
15 Sep,2025
Transform Your Morning Routine with a Gas Coffee Roaster
In a world where coffee is more than just a drink, it has become a ritual, a daily necessity for many. The aroma of freshly roasted coffee beans wafting through your kitchen can invigorate your senses and set a positive tone for the day ahead. If you’re looking to enhance your coffee experience, investing in a gas coffee roaster could be your best decision. In this article, we will explore the benefits of using a gas coffee roaster, how it transforms your morning routine, and tips for selecting the right one for your home.
Understanding the Basics of Coffee Roasting
Before diving into the specifics of gas coffee roasters, it’s essential to understand the coffee roasting process. Coffee roasting is the transformation of green coffee beans into the rich, brown beans that we are familiar with. This process involves several stages, including:
1. Green Bean Selection
The foundation of great coffee lies in the selection of high-quality green coffee beans. Factors such as origin, variety, and processing method can significantly impact the final flavor profile.
2. The Roasting Process
Roasting involves heating the beans to specific temperatures, where they undergo a series of chemical changes. This process can be monitored closely with a gas coffee roaster, allowing for precise control over the roast level.
3. Cooling the Beans
Once the desired roast level is achieved, it’s crucial to cool the beans rapidly to stop the roasting process. Gas coffee roasters typically come with built-in cooling features or can be paired with external cooling equipment.
Why Choose a Gas Coffee Roaster?
Gas coffee roasters offer unique advantages over electric models. Here are some reasons why they might be the right choice for your morning coffee routine:
1. Enhanced Flavor Control
Gas coffee roasters allow you to have direct control over the heat, enabling you to achieve the desired roast profile more effectively. This control results in a more nuanced flavor and aroma in your coffee.
2. Faster Roasting Times
Gas roasters typically heat up more quickly than electric ones, allowing for reduced roasting times. This efficiency means you can enjoy freshly roasted coffee without waiting too long.
3. Portability
Many gas coffee roasters are designed to be portable, making them ideal for outdoor roasting sessions. Whether you’re hosting a backyard gathering or camping, you can bring exceptional coffee wherever you go.
4. Cost-Effectiveness
While the initial investment may be higher than electric roasters, gas coffee roasters can lead to long-term savings, especially if you roast coffee regularly. The ability to buy green beans in bulk can significantly reduce costs per cup.
Key Features to Look for in a Gas Coffee Roaster
When selecting the perfect gas coffee roaster for your home, consider the following features:
1. Capacity
Capacity is an essential factor to consider based on your coffee consumption. Smaller roasters are suitable for personal use, while larger models cater to family or small business needs.
2. Heat Control
Look for a model that provides precise heat control settings. This feature allows you to experiment with different roast profiles and achieve consistent results.
3. Build Quality
Durability is paramount. Invest in a roaster made from high-quality materials that can withstand the rigors of regular use.
4. Ease of Use
A user-friendly interface can make the roasting experience more enjoyable. Features like digital displays and simple controls enhance usability.
5. Safety Features
Gas coffee roasters should include safety features such as automatic shut-off and flame control, ensuring a safe roasting experience.
How to Use a Gas Coffee Roaster
Using a gas coffee roaster can be an enjoyable and rewarding process. Here’s a step-by-step guide to help you get started:
Step 1: Prepare Your Green Beans
Measure the amount of green coffee beans you want to roast. It’s often recommended to start with a small batch to familiarize yourself with the roasting process.
Step 2: Preheat the Roaster
Ignite the gas burner and allow the roaster to preheat for a few minutes. Achieving the right temperature is crucial for consistent roasting.
Step 3: Add the Beans
Once preheated, add your green coffee beans into the roasting chamber. Monitor the roasting process closely, adjusting the gas flow to control the heat.
Step 4: Monitor the Roasting Stages
Pay attention to the first and second cracks during roasting. The first crack indicates light roast, while the second crack indicates medium to dark roast. Your preference will determine when to stop roasting.
Step 5: Cool the Beans
Once you achieve the desired roast level, quickly cool the beans to halt the roasting process. Use a cooling tray or a colander to achieve this efficiently.
Storing Your Freshly Roasted Coffee
Proper storage of your roasted coffee beans is essential to maintain freshness. Here are some tips:
1. Use Airtight Containers
Store your coffee in airtight containers to protect it from oxygen, moisture, and light, which can degrade flavor.
2. Avoid the Fridge
While it may seem logical to refrigerate coffee, it can introduce moisture and affect the taste. Instead, store your beans in a cool, dark place.
3. Use within a Few Weeks
Freshly roasted beans are best enjoyed within two to three weeks. Consider roasting small batches to ensure optimal freshness.
Common Mistakes to Avoid When Roasting Coffee
Roasting coffee can be a learning curve. Here are common pitfalls to watch out for:
1. Rushing the Roasting Process
Patience is key in coffee roasting. Rushing can lead to uneven roast and unwanted flavors.
2. Ignoring Temperature Control
Neglecting to monitor and adjust temperature can result in poorly roasted beans. Invest time in learning how your roaster responds.
3. Failing to Experiment
Don’t hesitate to experiment with different beans, roast times, and temperatures. Each batch can teach you something new.
Frequently Asked Questions (FAQs)
1. What are the benefits of using a gas coffee roaster over an electric one?
Gas coffee roasters offer enhanced flavor control, faster roasting times, portability, and can be more cost-effective in the long run.
2. How much coffee can I roast in a gas coffee roaster?
Capacity varies by model, but most home gas coffee roasters allow you to roast between 1lb to 5lbs of green coffee beans per batch.
3. How can I achieve a specific roast level with a gas coffee roaster?
Monitoring the roasting process closely and adjusting the gas flow and roasting time allows you to achieve your desired roast level.
4. Is it difficult to use a gas coffee roaster?
While it requires some practice, using a gas coffee roaster can be straightforward with the right guidance. Following manufacturer instructions and experimenting will help you become proficient.
5. How long does it take to roast coffee beans using a gas coffee roaster?
Roasting times can vary depending on the roast level desired but generally range from 10 to 20 minutes.
Conclusion
Investing in a gas coffee roaster can significantly transform your morning routine, providing you with unparalleled control over your coffee flavor and freshness. With the ability to roast your own beans, you can discover new flavors and aromas that store-bought coffee simply cannot match. By understanding the roasting process, selecting the right equipment, and avoiding common mistakes, you can elevate your home brewing experience. So why not take the plunge and transform your mornings with a gas coffee roaster? You won't regret the journey from green beans to the perfect cup of coffee.
Recommended

Phone/WhatsApp:
Email:
About Us
We are a real coffee roasting machine manufacturer, providing OEM and ODM services, we have established a series of brands with our own characteristics.
HUATAO GROUP
Leave Message
Expand your business with a trusted partner
SAF Coolest v1.3.1.2 设置面板 GDNSD-ZRUA-MDADE-ZZE
无数据提示
Sorry, the current column is being updated, so stay tuned!